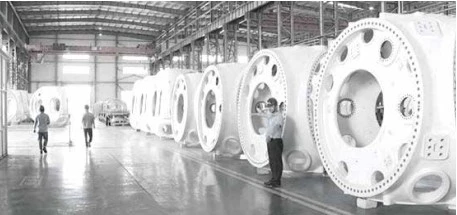
The wind turbine hub is a large, core component of a wind turbine. Its structure and complex stresses are crucial to the performance and safety of the entire turbine. With the trend toward larger wind turbines, hub diameters exceeding 3 meters and unit weights exceeding 10 tons present significant inspection challenges.
Traditional manual inspection methods are slow and labor-intensive, and are also limited by the hub's complex geometric features and increasingly stringent tolerances. They no longer meet today's new measurement requirements. Therefore, the client sought a new, easy-to-use, and highly efficient inspection method to achieve improved quality and efficiency.
3D Optical Measurement Solutions and Innovations
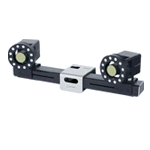
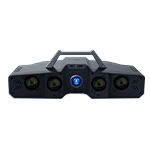
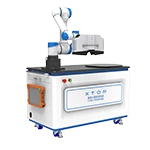
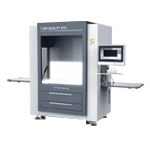
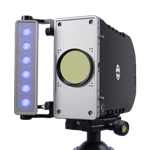
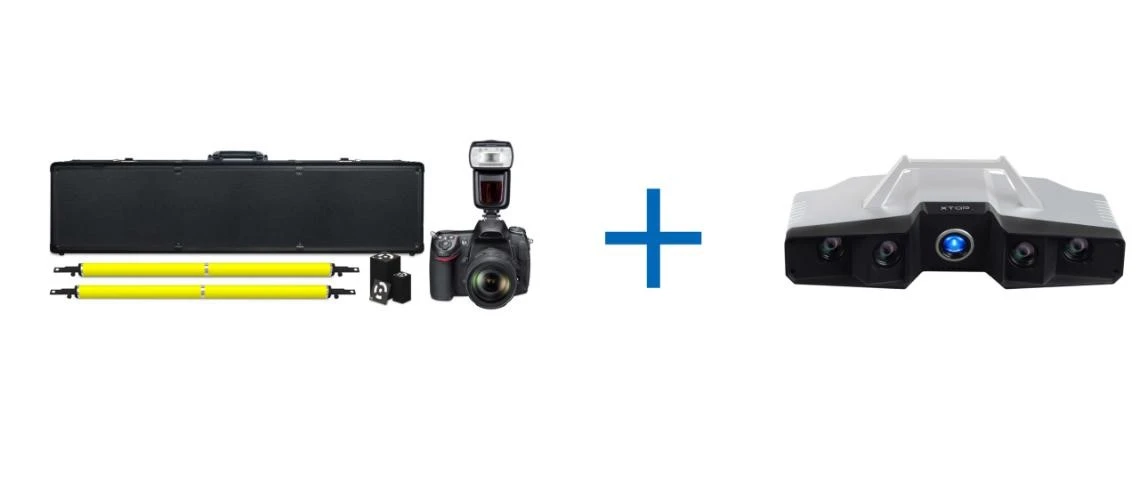
The XTOP3D XTOM large-format blue-light 3D scanner combined with 3D photogrammetry technology is a fast, high-precision, full-scale measurement solution for medium- and large-scale workpieces. Through 3D photogrammetry and blue-light 3D scanning, the measurement range reaches tens of meters, fully meeting the needs of large-scale inspection. Furthermore, the XTOM 3D scanning measurement system enables industrial-grade, high-precision measurement of specific, complex features and locations.
Large-Scale Measurement Solution
To address the measurement challenges of large components and molds, XTOP3D has launched a photogrammetry solution. Featuring fast inspection speed, high measurement accuracy, and direct inspection capabilities, it effectively addresses the large-scale inspection challenges customers face in production.
In addition, for some large workpieces with complex curves, numerous surface features, and high profile tolerance requirements, photogrammetry can be combined with 3D scanning. The former ensures overall accuracy, while the latter controls local tolerances within acceptable limits and generates accurate 3D data models.

XTDP photogrammetry + XTOM blue light 3D scanning measurement
Flexible Combination, Efficient and Time-Saving
Use this large-scale measurement solution to measure the dimensions and topography of large workpiece surfaces, establish the overall shape framework of the object being measured, scan and measure dense point clouds of local areas, and automatically match them to the global coordinate system, completing the entire measurement and modeling process.
Large Range, High Precision
Using non-contact photography combined with scanning, the measurement range reaches tens of meters, fully meeting the needs of large-scale inspection. Additionally, using XTOM scanning measurement, industrial-grade high-precision measurement of specific complex features and locations is achieved.
Easy Operation, Flexible Measurement
The device can be easily operated by one person and can be flexibly switched between different combinations. Furthermore, for large-scale measurement data, automated stitching enables large-scale measurement, effectively improving inspection efficiency and saving labor and time.
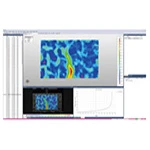
Visual Measurement Analysis
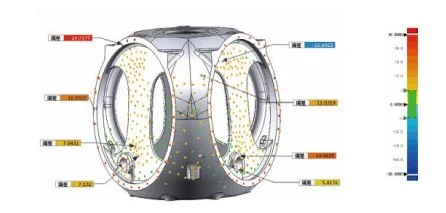
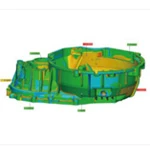
Professional analysis software analyzes and processes collected data, compares it with the CAD model, identifies deviations, and outputs a visual inspection report of the overall machining quality of large workpieces. Wind Turbine Blade Hub Inspection
Applied to the wind power industry, this system directly scans large workpieces, processes and calculates data in software, and controls the design accuracy of the entire workpiece, enabling quality control of production lines. It is particularly suitable for 3D dimensional inspection of large workpieces with complex curved surfaces, significantly improving the efficiency of product design and inspection.
